
Last time I left you, Jeremy had installed the double dressers on each side as well as the shelving above the dressers. He had also installed a top shelf that went all the way around the closet. Over the next week, the adjustable shelves were built and installed, then the closet rods and lastly the baseboard to finish the look. Because I can't wait let me show you a little sneak peek of the closet and then we can get to the details and then LOTS more pictures!!!


You get a great sneak peek at the adjustable shelves that I am TOTALLY loving!!! I will admit when my hubby came to me and said he wanted to put adjustable shelves in here I was worried it was going to be difficult. He showed me his plans and walked me through it all and I thought heck yeah lets do this!!! He used a peg board to drill the holes on the insides of each plywood vertical.

This part wasn't hard, just tedious to drill each marked hole. Once all four panels were complete, we needed to add some support to the back in order for us to drill into the studs.


We could have attached a piece of plywood to the entire back, but to save money we decided to go this route. We still had some masonite board leftover, so our plan was to attach that to the back once the shelf was secured to the wall. I wish I had more "action" shots for you, but mostly was able to get the "after install was complete" shots...better than nothing right???

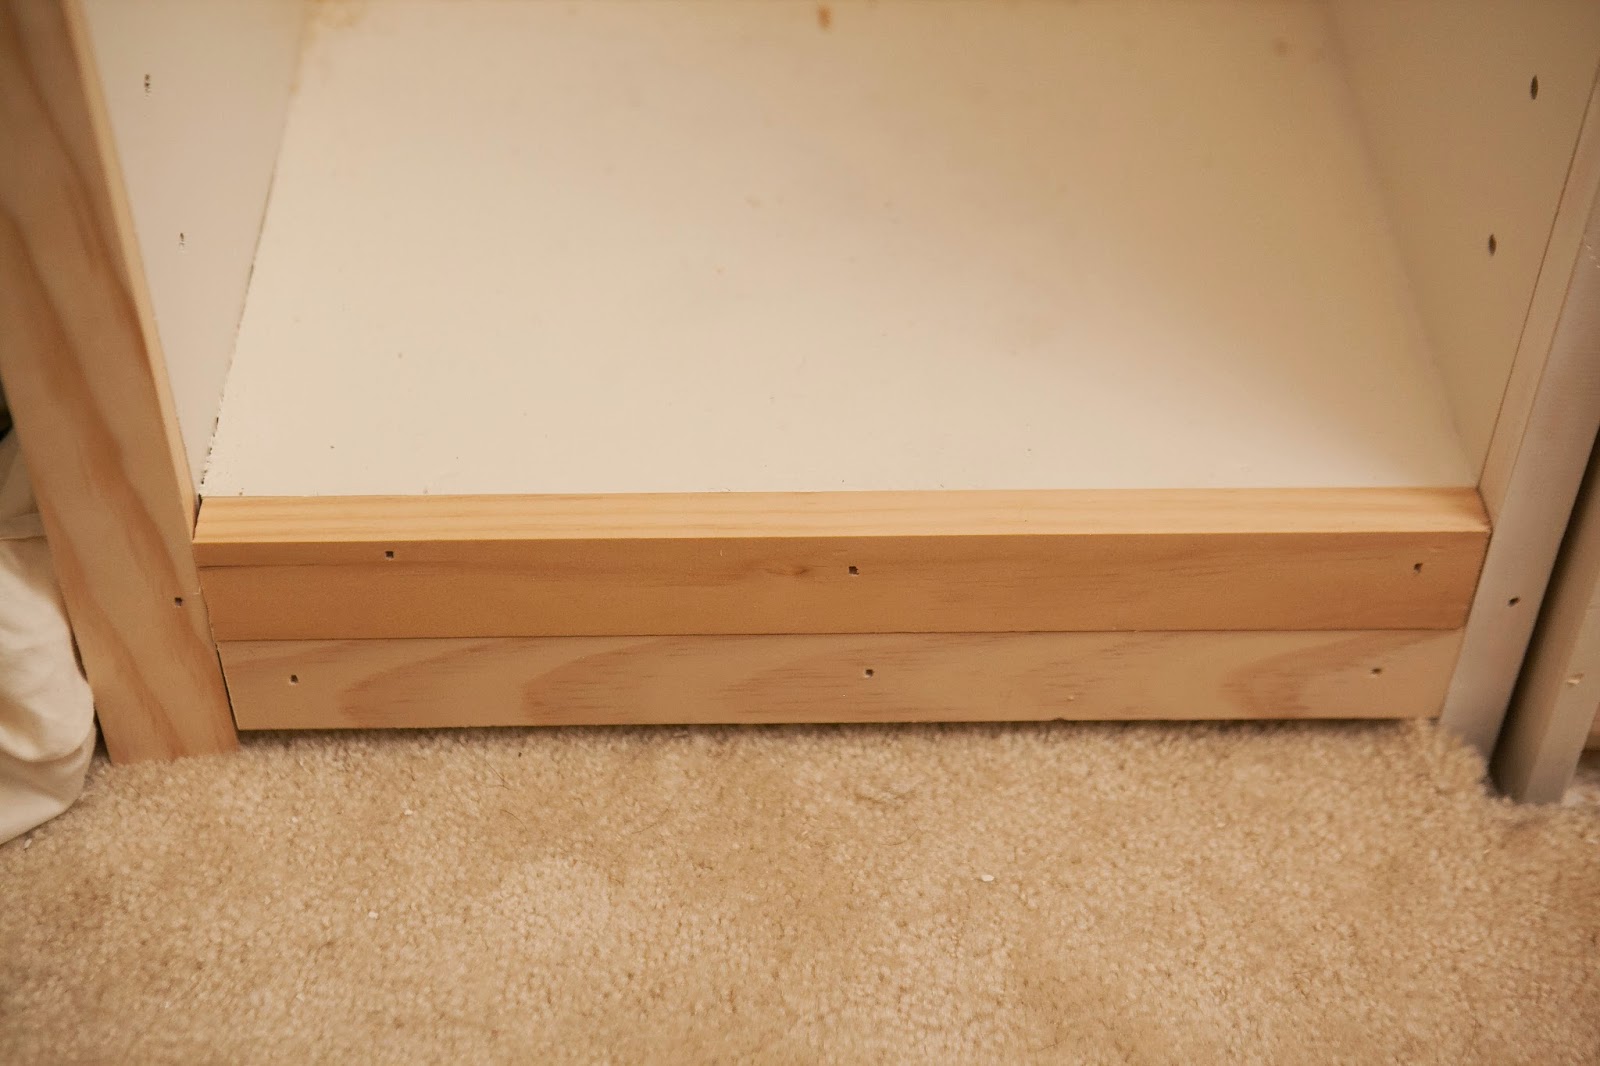
As you can see we painted this masonite board the same color as the dressers and adjustable shelves, Behr Hazelnut Cream (semi-gloss). Just like in the nursery closet, we put quarter round on the back of the shelving and trim on the face to give it the "chunky" look. Here are some in progress shots, prior to wood filler, sanding, painting and caulk.


We also had to add some additional wood to the face of the adjustable shelves so the baseboard would lay flush as well - we used some leftover 1x2 pieces.
For the shelf that goes all the way around the closet we did install support brackets for the shelf that is on the back wall and above the door.

For the clothing rods, we were able to attach all of the rod holders into studs. Just like in the nursery closet we cut down a 1x8 board to a width of 5 1/2" and length of 14 1/2" and then screwed in the holders for each rod.

We had all the original rods leftover, but only one was long enough and instead of trying to match the stain we opted to purchase two new rods and stain them in Rust-oleum Dark Walnut. We are saving the old rods to use in our distant master closet re-model.
We realized when we planned that the rods were better fit for children's clothing/hangers, which is what suits us for its current use. In the future that wall can easily be converted to additional shelving or can even hang knobs on the back for jewelry, scarves, purses, etc. The amount of space we maximized with the adjustable shelves and the height of each rod, far outweighs the space that can't be used for adult clothing/hangers.
Now let's get to all the pretty after pictures!!! And brace yourselves for picture overload...we went a little crazy with the photos :) Why don't we start with the left side of the closet, this would be Anabella's side...hence the purple :)


I know that was a lot of pictures and we just showed you the left side...I just can't decide which pictures to pick!!
Here is the back wall that holds all of the hanging clothes and then I have three (currently empty) bins on the top shelf...room to grow :) I also purchased some clothing dividers at The Container Store and then cut strips of my chalkboard vinyl to label for each girls' clothing rod. The top rod is for Anabella and the bottom is for Olivia.


I have big plans for this step stool we purchased from Ikea, but that will have to wait until a future time...but not too future!


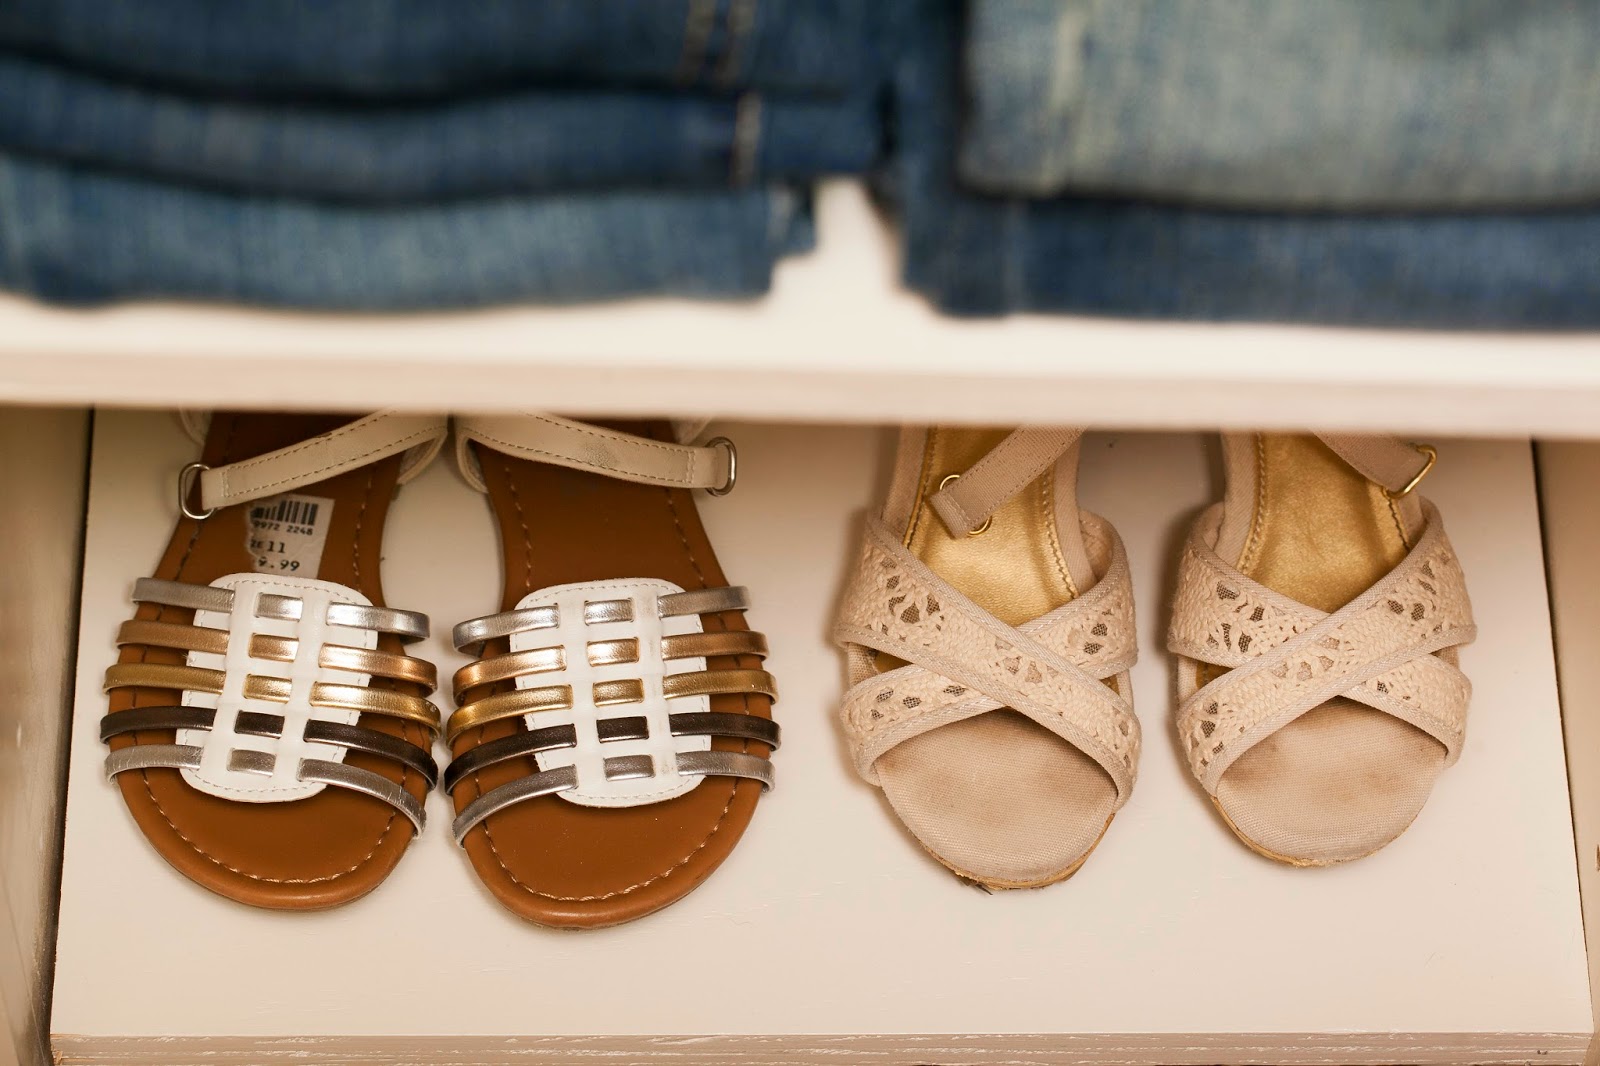
And now we can turn to the right side of the closet, which is Olivia's side and is of course pink! I will say I didn't realize how many pink shoes this little girl had until I was putting them on her shelves!


Here is a view looking up to show how the shelves go all the way around the closet.


Let us take a trip back in time so we can see the beautiful before and after journey this closet has taken.


I am so in love with how the closet turned out and my little organizing heart has been bursting every time I open the door! The girls absolutely love it and to quote Anabella, "This is awesome!" Once everything was completed I couldn't wait to start filling up the drawers and shelves with the girls' clothes and shoes. Of course I neatly stacked and folded everything, but the girls favorite part is to open the drawers themselves and pick out their clothes for the day. You can see where this is going...all the pretty folded clothes get a little out of place, but I am learning to embrace it. I love seeing them be thrilled to pick out their clothes and to help put back their clothes and shoes, which I think Anabella might have inherited a little bit of my OCD.
Well, Happy Monday to you all!! I hope to have the pictures edited and ready to go for a post on the nursery reveal this week. If you follow me on Instagram you can catch a few sneak peeks of what has been going on in there! :)
With much love,
Kristin

Linking up with:
Remodelaholic
Creative Collection Link Party
LOVE it!!! We've got a master closet that is currently just an empty room - this gives me SO many ideas!!! You are totally knocking it out of the park with this AHHHMAZING room!
ReplyDeleteThank you Kristi, you are too kind!!!
Delete